This week’s class was so exciting! We started designing buildings to put together our city. it’s looking like we will have a school, a hospital, a few stores and restaurants, an airport, a military base, and a couple of houses.

One of our third graders designing a house 
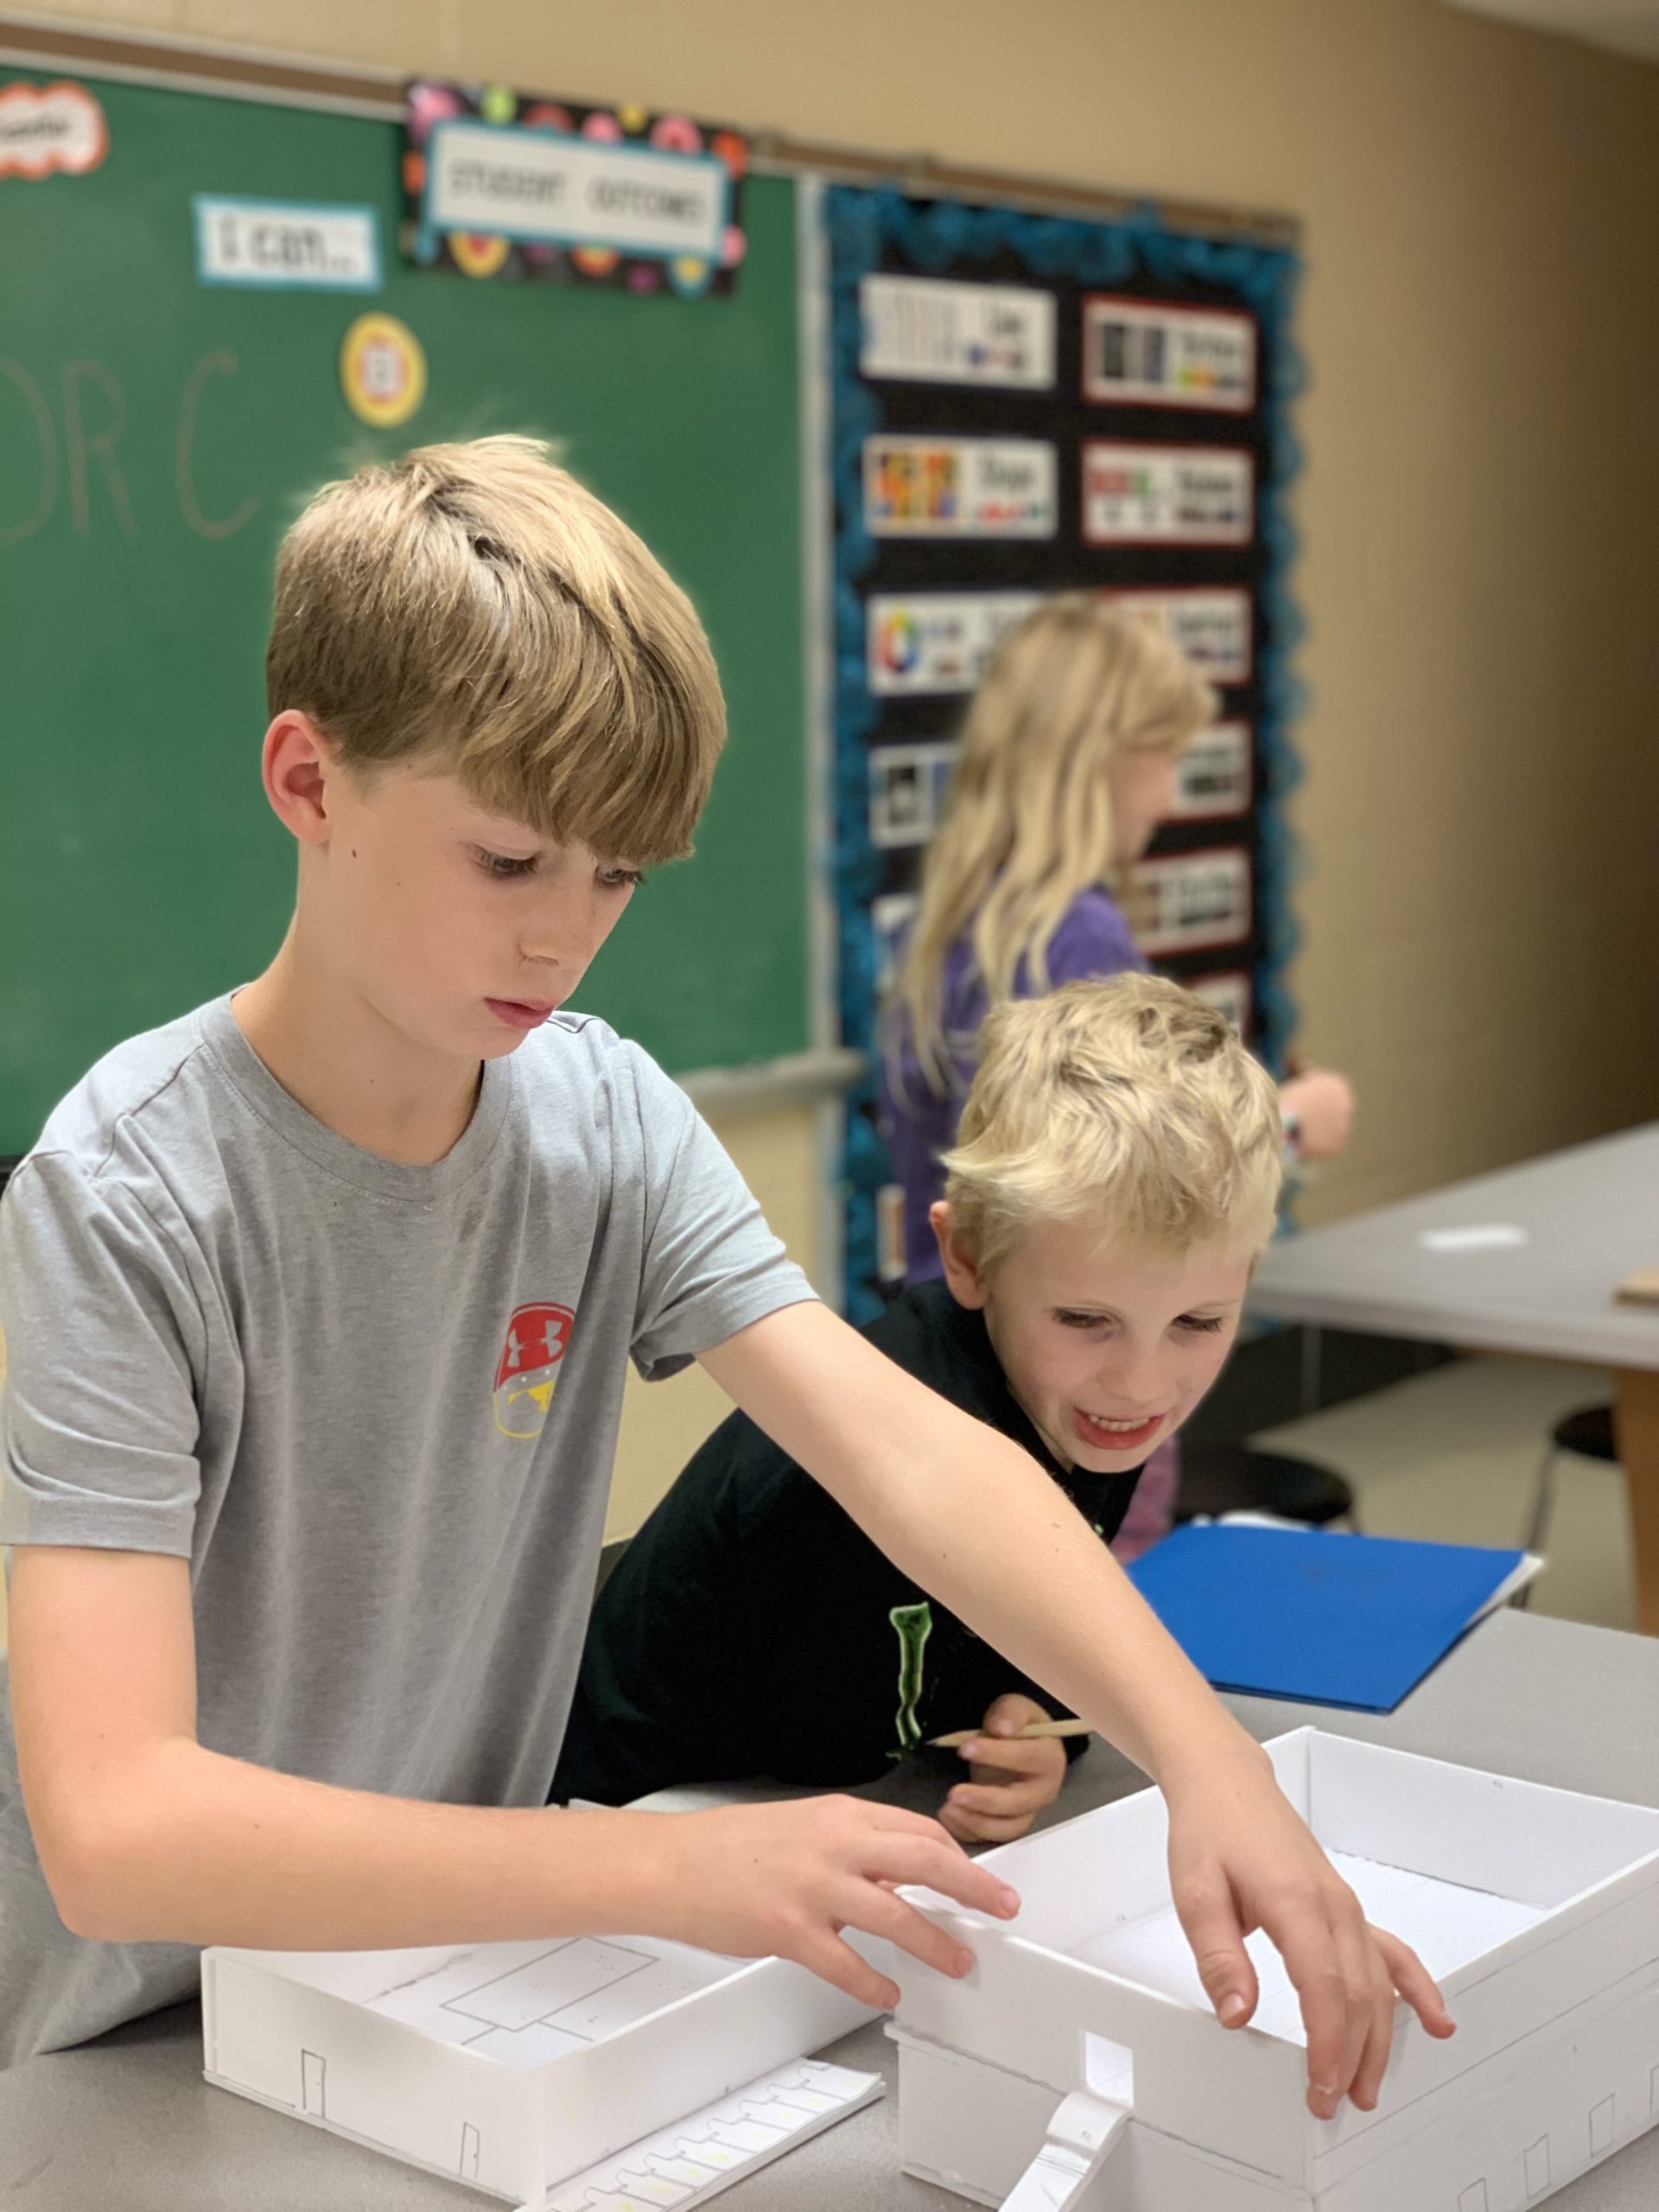
A fourth grade student designing a restaurant 
One of our fifth graders discussing ideas
Using the planning technique of bubble diagrams, the kids started laying out their buildings based on the simple programs they chose. The programs list 5 – 6 spaces that are required, two adjacencies, and some exterior door and window requirements.
Most of the kids added extra spaces to their designs. I love the creativity!
The bubble diagrams allow us to look at spaces in relationship to each other, both in terms of size and location. We can tell that our school cafeteria, for example, is larger than a classroom. The actual dimensions of the spaces are not yet figured out.

Next week we will begin to draw scaled floor plans of our designs. We may need to make some decisions about what extra spaces to eliminate in order to fit our buildings on their selected sites.


